

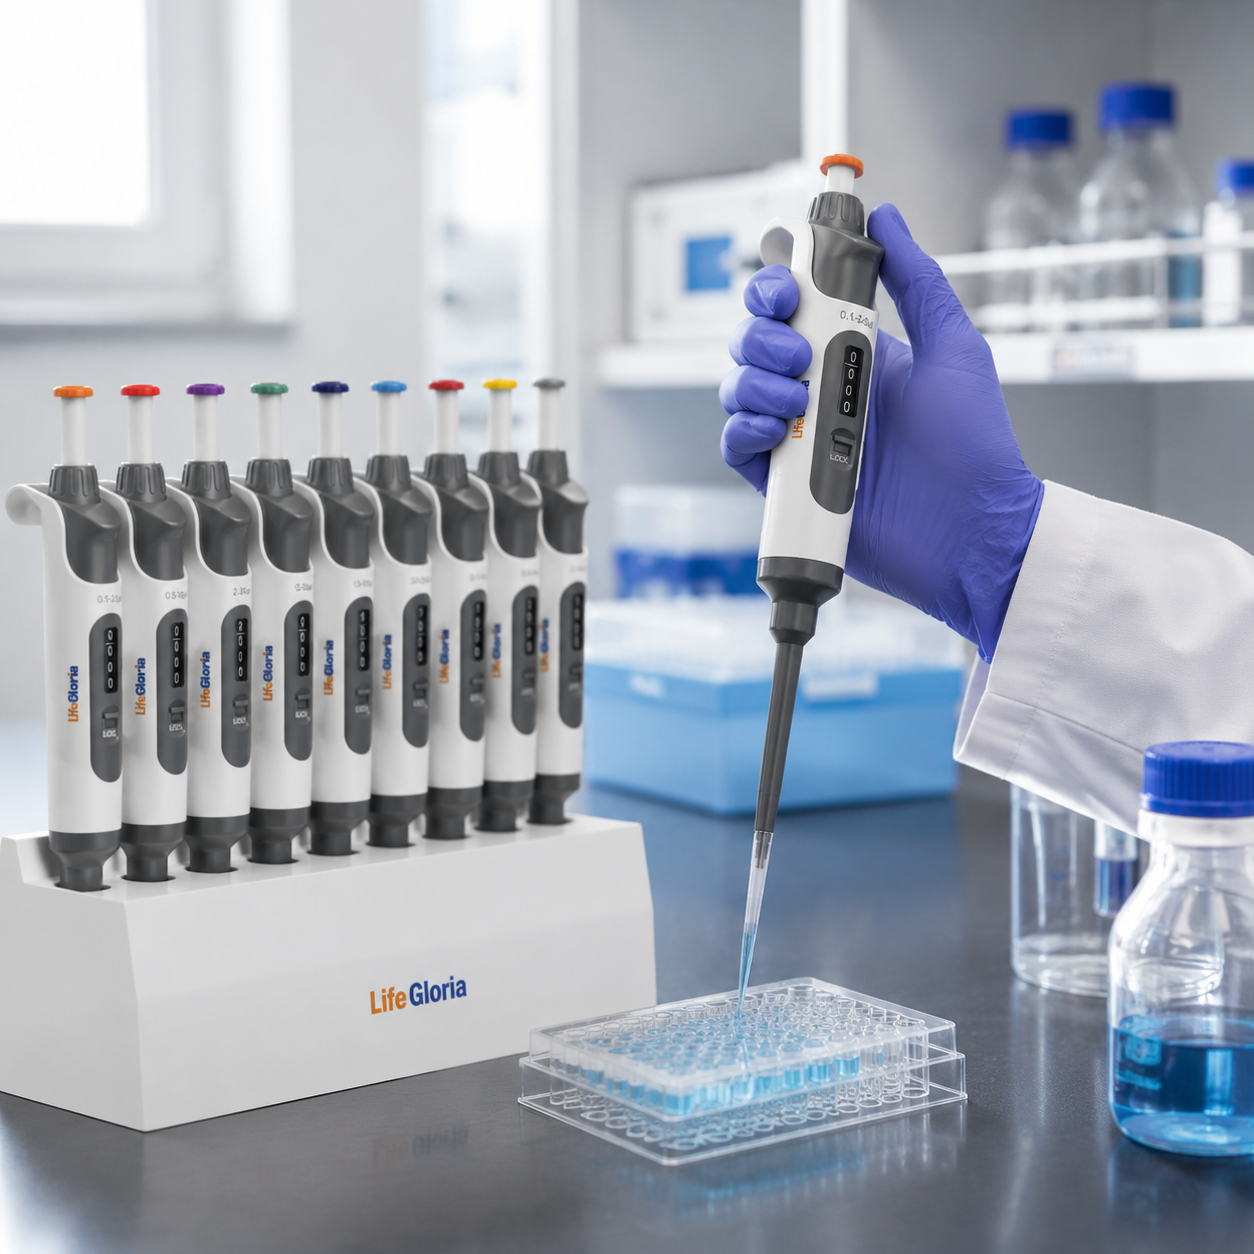
What Does Pipette Calibration Mean?
Pipette calibration is the documented comparison between the volume selected on the instrument and the volume actually delivered under defined conditions. Accuracy describes how close the mean delivered volume is to the target. Precision describes how closely repeated deliveries agree with one another.
A pipette may be precise but inaccurate if it repeatedly delivers nearly the same wrong volume. It may also have an acceptable average but poor precision if individual results vary widely. A useful performance check therefore evaluates both systematic error and random error.
When Should a Micropipette Be Checked?
There is no single interval that fits every laboratory. Many laboratories use a 6- or 12-month service cycle, but the correct frequency should reflect workload, risk, manufacturer guidance, quality-system requirements, and the consequences of an incorrect result.
- After the pipette is dropped or struck
- When liquid is aspirated into the shaft
- After seal, piston, or tip-cone maintenance
- When leakage, rough plunger movement, or inconsistent results appear
- Before critical work when traceable performance evidence is required
Equipment Needed for a Gravimetric Test
Use equipment suitable for the volume being tested. Very small volumes require a balance with finer readability and better control of evaporation than larger volumes.
- A calibrated analytical or microbalance with appropriate readability
- Purified or distilled water at stable room temperature
- A clean weighing vessel, preferably with evaporation protection for small volumes
- A thermometer and, when required by the method, barometric pressure and humidity data
- Compatible, good-quality pipette tips
- A worksheet or validated software for calculations
Step-by-Step Gravimetric Pipette Test
1. Stabilize the test environment
Allow the pipette, tips, water, vessel, and balance to reach the same stable room conditions. Avoid direct sunlight, drafts, vibration, and rapid temperature changes.
2. Inspect and prepare the pipette
Check the tip cone, ejector, display, plunger movement, and seals. Fit a compatible tip and pre-wet it several times with test water.
3. Select the test volumes
Test the volumes required by your SOP. A common risk-based approach includes the nominal volume plus one or more lower settings. Do not assume that passing at one setting proves performance across the range.
4. Weigh repeated deliveries
Tare the vessel, aspirate vertically with controlled immersion depth, dispense consistently, and record each mass. Use the number of replicates specified by your method or quality system.
5. Convert mass to volume
Convert each water mass to volume using the density or Z-factor appropriate to the measured temperature and test conditions. Do not simply assume that every milligram always equals one microliter.
6. Evaluate accuracy and precision
Calculate mean delivered volume, systematic error, and repeatability. Compare them with the acceptance limits for the specific pipette, volume, and applicable procedure.
Why a Pipette May Fail the Test
A failed result does not automatically mean the adjustment mechanism is wrong. First separate technique and test-system errors from mechanical faults.
- Tip leakage or poor tip fit
- Fast, angled, or inconsistent aspiration
- Incorrect immersion depth
- Evaporation during low-volume weighing
- Water, pipette, and balance at different temperatures
- Contaminated piston, worn seal, or damaged tip cone
- Using acceptance limits that do not match the model or test volume
Calibration Check vs Pipette Adjustment
A calibration check measures and documents performance. Adjustment changes the instrument so that its delivered volume returns toward the target. Record the as-found data before making an adjustment, then repeat the complete test and record the as-left data afterward.
If the pipette continues to leak or shows unstable results after cleaning and correct tip selection, replace worn parts or arrange qualified service instead of repeatedly turning the calibration control.
Using a Fully Autoclavable Pipette
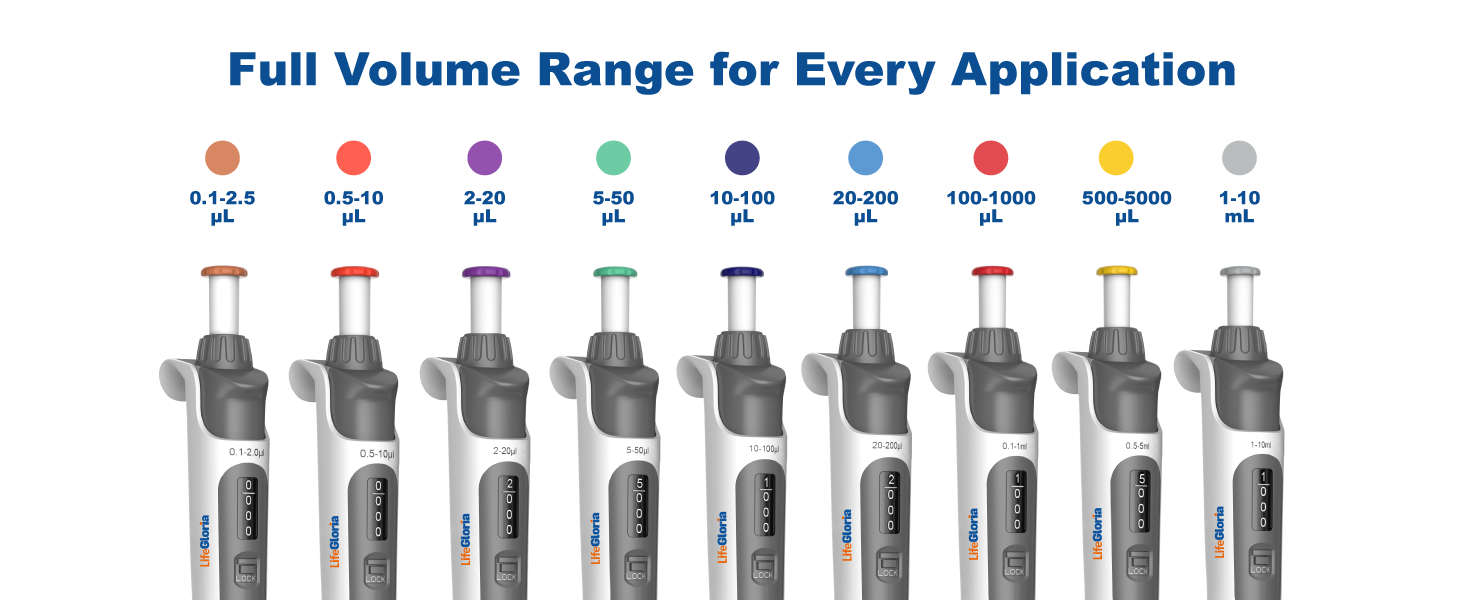
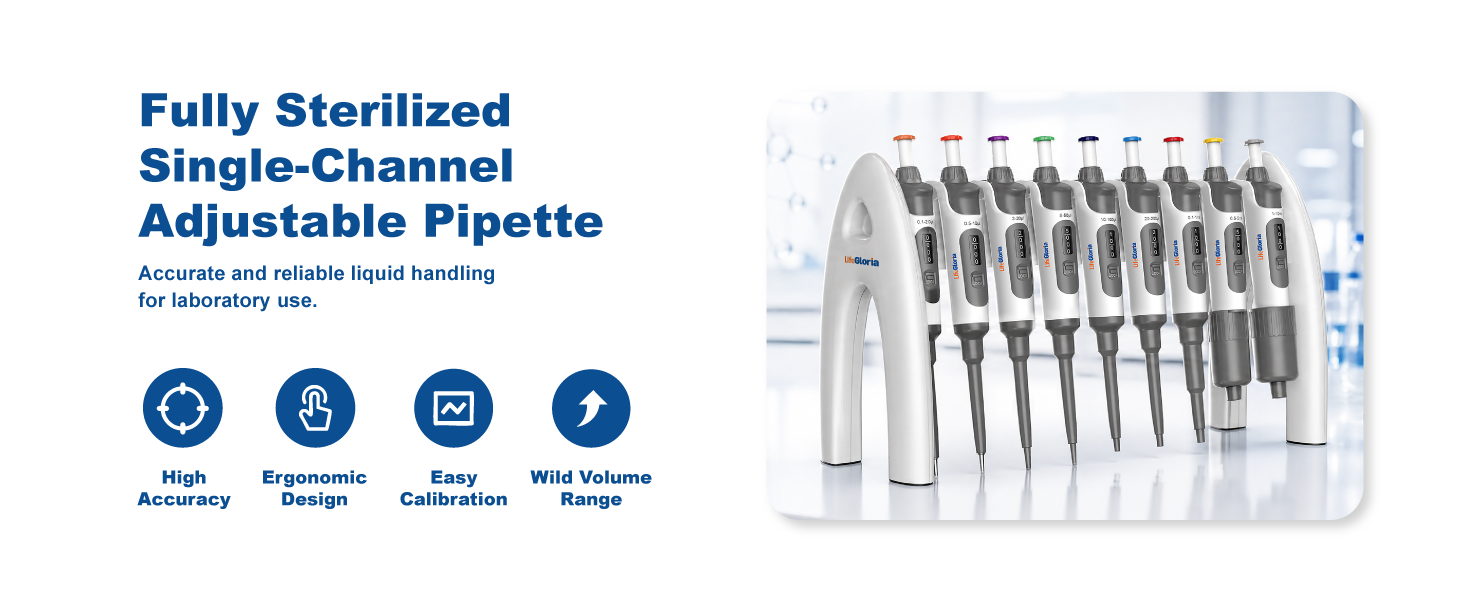
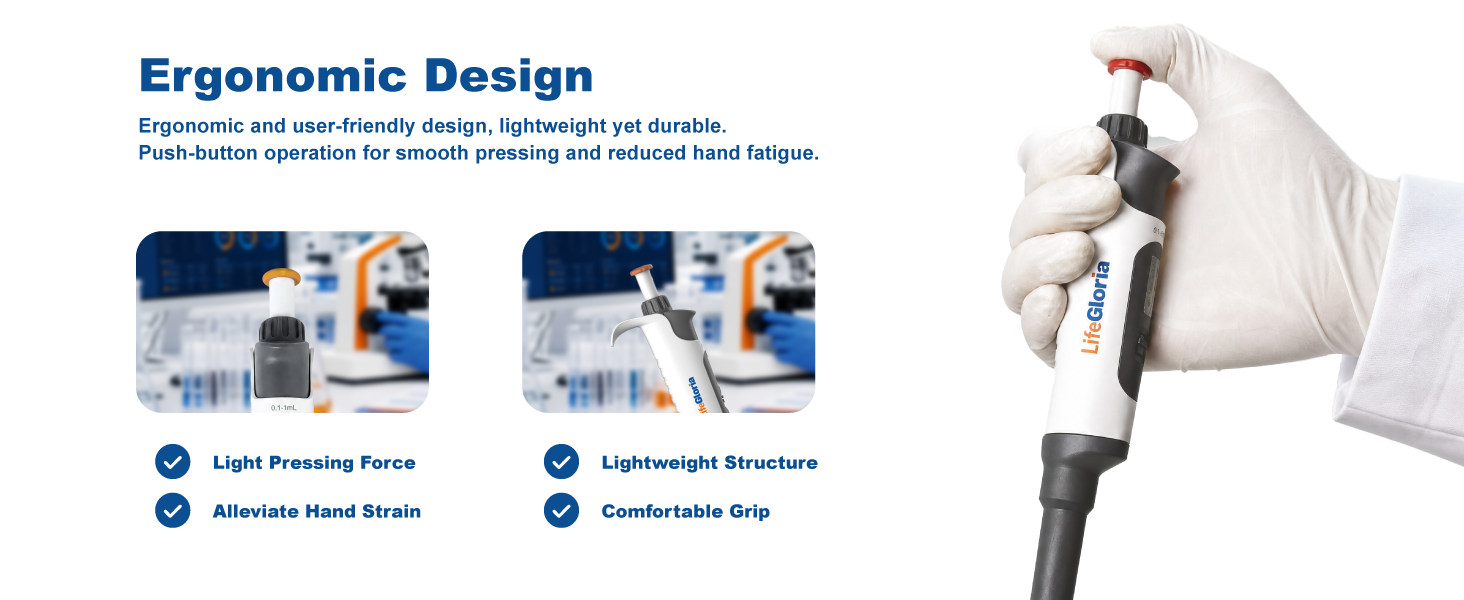
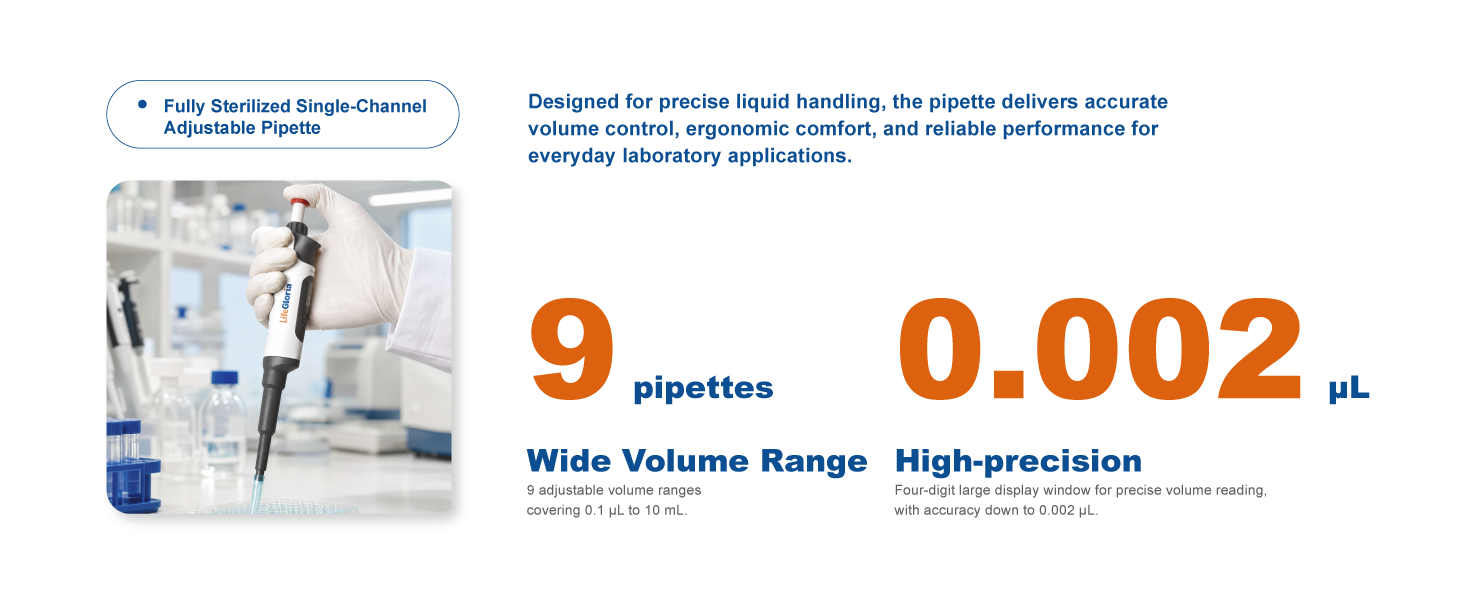
The LifeGloria fully autoclavable adjustable micropipette covers nine volume ranges from 0.1 µL to 10 mL, includes a volume lock, and is supplied with an individual test certificate. Its manual states that the pipette can be autoclaved without disassembly; always use the validated sterilization cycle and allow the instrument to cool and dry completely before checking performance.
Frequently Asked Questions
How often should a micropipette be calibrated?
Use a risk-based interval. Six to twelve months is common for routine work, but high-use, regulated, or critical applications may require shorter intervals and interim checks.
Can I calibrate a pipette with an ordinary balance?
Only if the balance readability, stability, and evaporation control are suitable for the tested volume. Low-volume pipettes normally require more sensitive equipment.
Should a pipette be checked after autoclaving?
For critical work, an interim performance check after sterilization is sensible, especially after a new cycle, maintenance, or any unusual handling.
What is the difference between accuracy and precision?
Accuracy is closeness to the target volume. Precision is consistency among repeated deliveries. Both must be evaluated.
Final Thoughts
Reliable calibration begins with a controlled test, not an immediate adjustment. Verify technique, tip fit, temperature, evaporation, and balance performance; document the as-found result; repair or adjust only when justified; and confirm the final performance before returning the pipette to service.
