

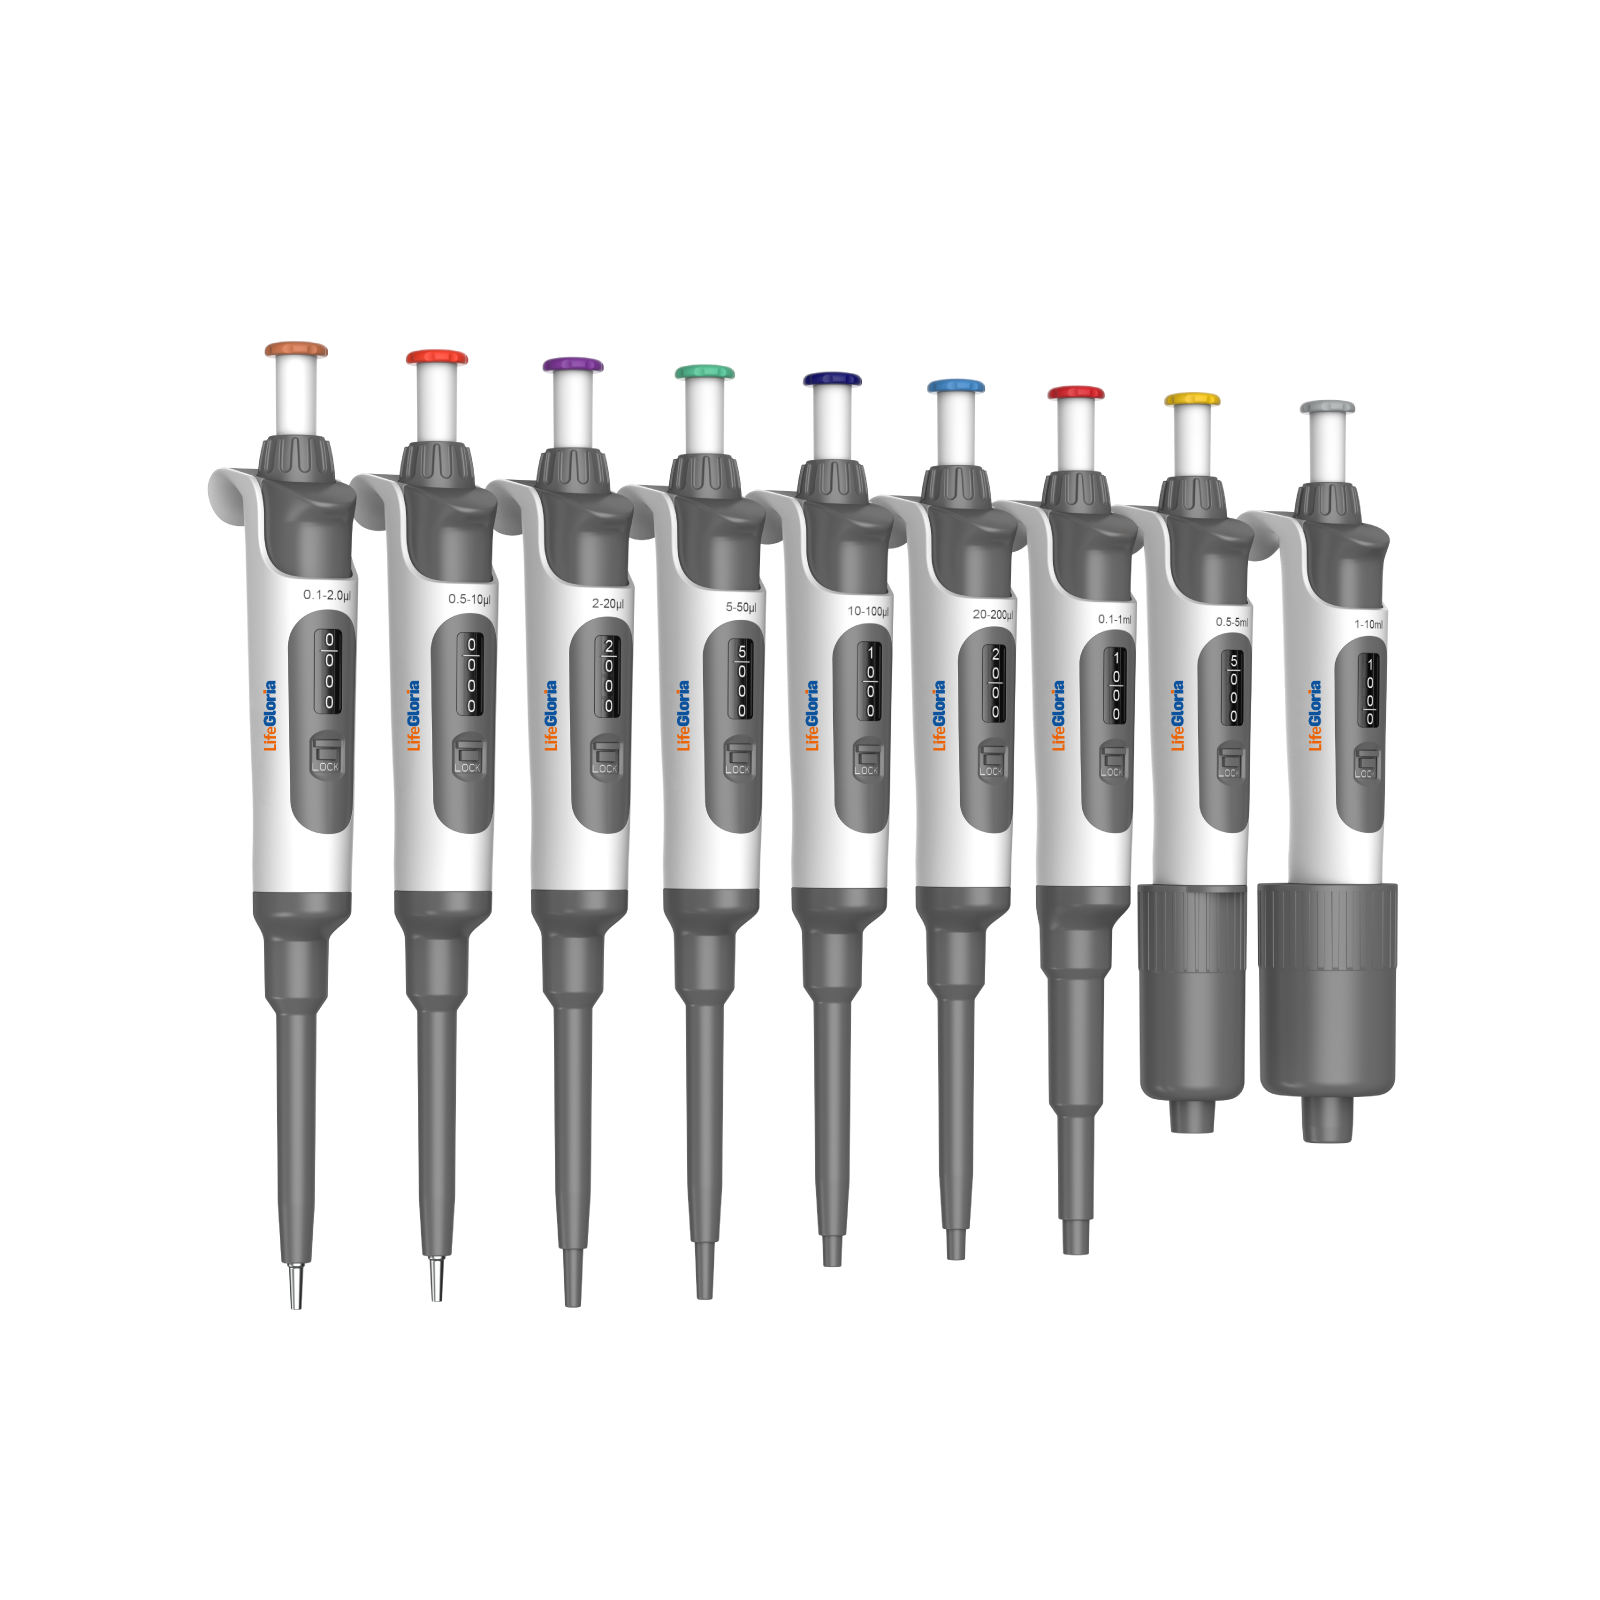
Quick answer: For accurate pipetting, use the correct volume range and tip, keep the pipette vertical during aspiration, move the plunger smoothly, and change tips between samples. For the LifeGloria fully autoclavable model, follow the manual’s 121°C, 1 bar, 20-minute cycle and allow complete cooling and air-drying.
A fully autoclavable adjustable micropipette can be sterilized as a complete instrument without dismantling the lower assembly, reducing handling steps in contamination-control workflows.
Autoclavable does not mean every chemical, detergent, cycle, or accessory is compatible. The product manual and the laboratory SOP must control the process.
In this guide:
- Correct pipetting technique
- Autoclave preparation and cycle
- Post-cycle checks
- Accuracy problems to avoid
Routine Pipetting Technique
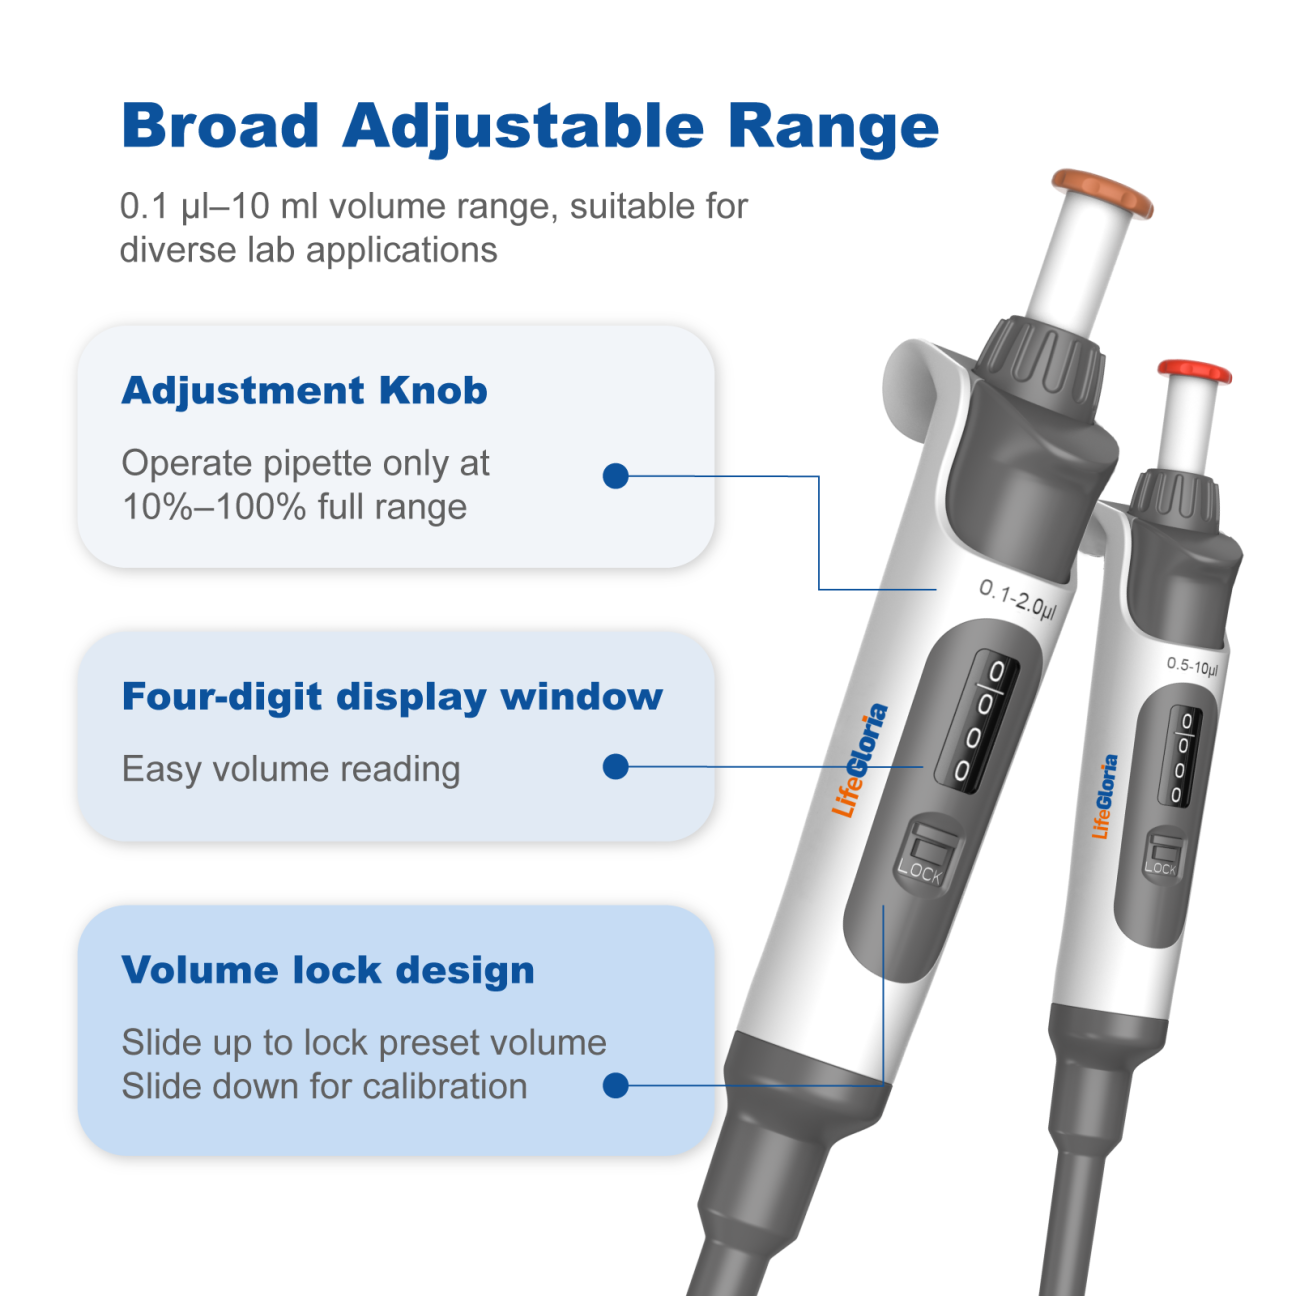
- Select a pipette whose working range contains the target volume
- Set and lock a valid volume without turning beyond the range
- Fit a compatible tip securely
- Pre-wet the tip when the method benefits from it
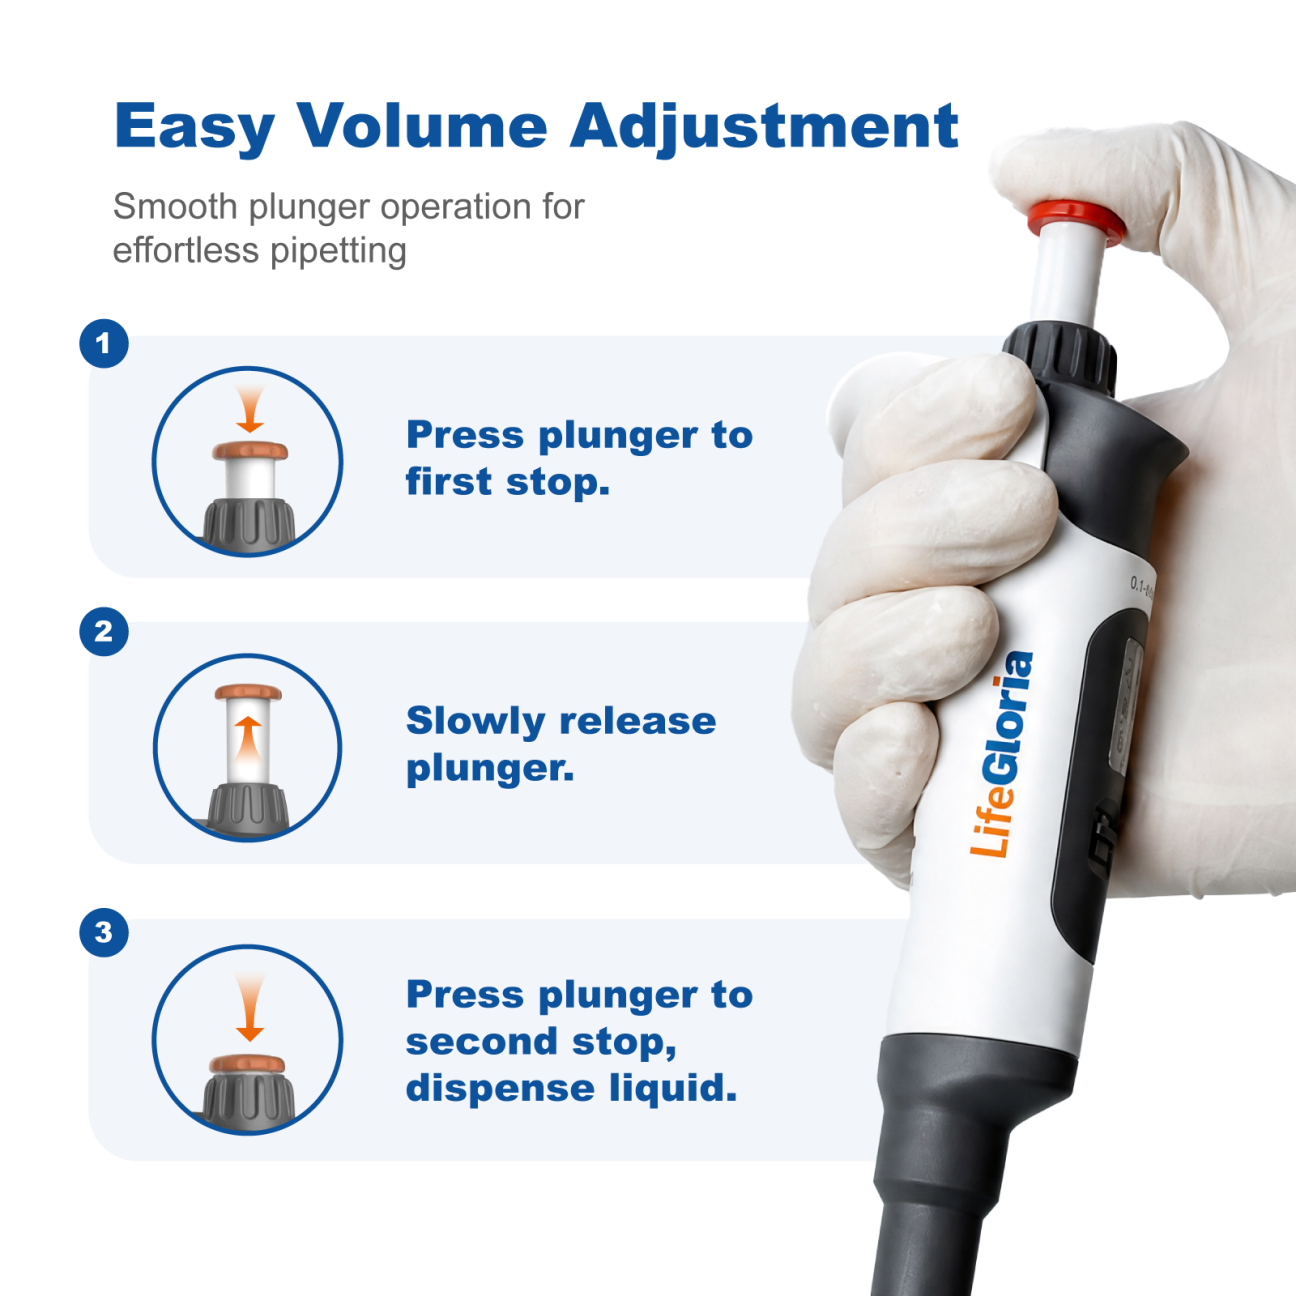
- Aspirate vertically and slowly at a consistent immersion depth
- Dispense smoothly against the receiving-vessel wall when appropriate
- Eject the tip into the correct waste stream
Temperature differences, rapid plunger movement, air bubbles, inconsistent immersion, and a poorly fitted tip can all affect transferred volume.
Autoclave Procedure
- Remove the tip and ensure the pipette is clean
- For PPT0107/PPT0108/PPT0109, remove the filter and autoclave it separately
- Set the pipette to the maximum valid volume position
- Do not add detergent, disinfectant, or sodium hypochlorite during the high-temperature cycle
- Autoclave at 121°C and 1 bar for 20 minutes
- Cool to room temperature and air-dry completely
Use the sterilizer’s validated loading and drying process, and never operate the pipette while it is still hot or wet.
After Autoclaving
- Check that the handle and lower assembly remain secure
- Inspect seals, tip cone, display, and plunger movement
- Lubricate only as specified if frequent cycles affect piston movement
- Verify or calibrate performance before critical work
The manual recommends calibration after high-temperature sterilization for maximum precision and accuracy.
Common Accuracy Errors
| Symptom | Possible cause |
|---|---|
| Volume too low | Loose tip, leak, rapid aspiration, insufficient immersion |
| Poor repeatability | Inconsistent rhythm, air bubbles, temperature difference |
| Stiff plunger | Contamination, excess or insufficient approved lubricant, seal wear |
Pair the pipette with compatible laboratory pipette tips for the required volume and application.
Frequently Asked Questions
Does the lower part need to be disassembled before autoclaving?
No for the specified fully autoclavable model. Follow the manual; remove the filter separately only for the listed filtered models.
Can bleach be added to the autoclave cycle?
The product manual says not to use sodium hypochlorite, detergents, or additional disinfectants during high-temperature sterilization.
Why calibrate after autoclaving?
Heat cycles and reassembly checks can affect performance. Verification confirms that the pipette remains within the laboratory’s acceptance criteria.
Key Takeaway
Sterilization and accuracy are one workflow: prepare correctly, run the specified cycle, dry completely, inspect, and verify performance.
