

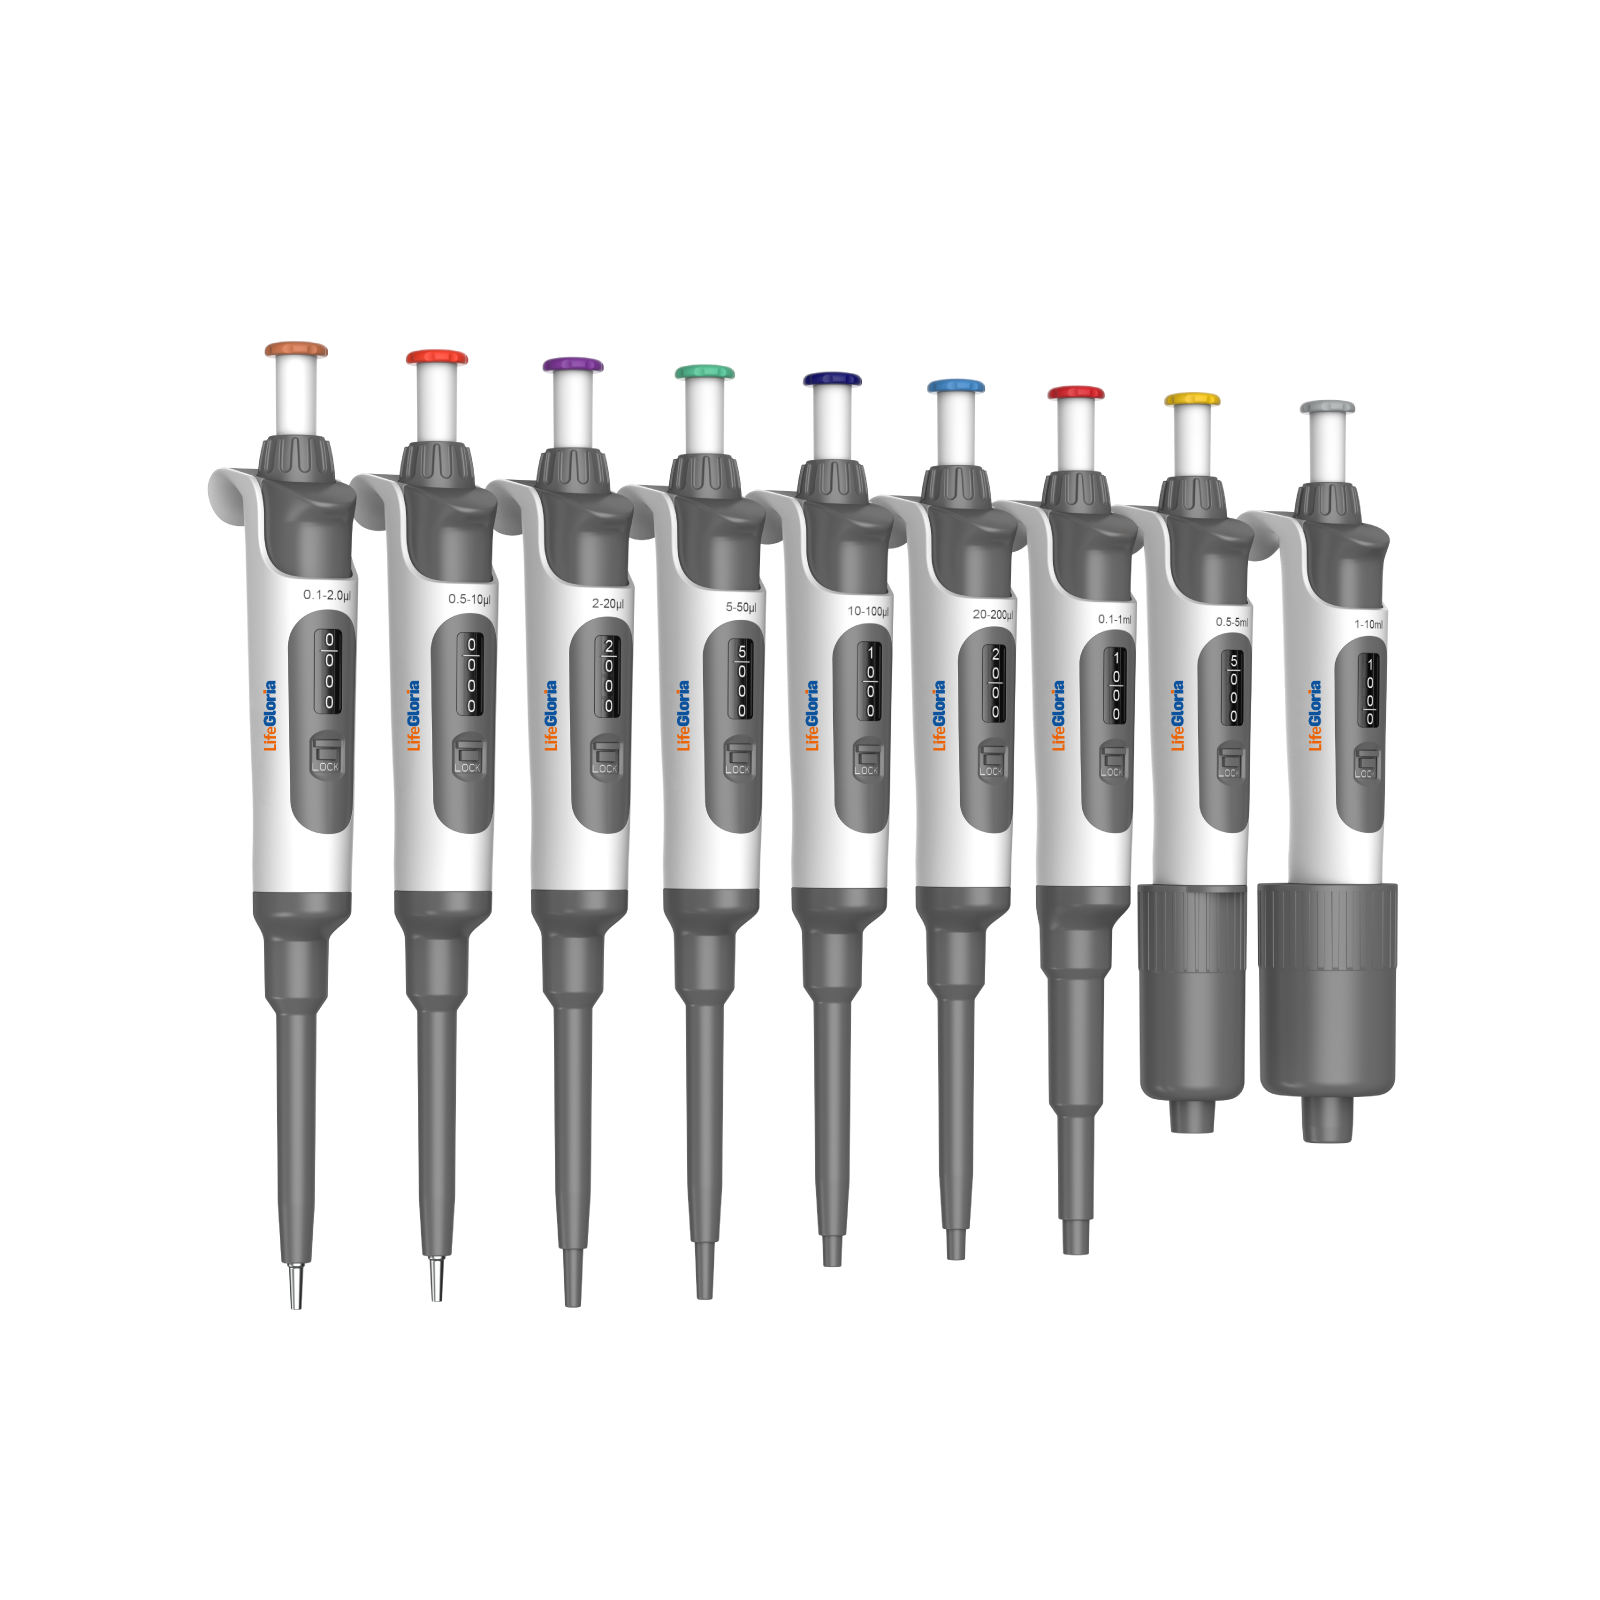
A micropipette can measure very small liquid volumes, but the instrument cannot correct inconsistent technique. Tip fit, plunger speed, pipette angle, immersion depth, and waiting time all affect the amount delivered.
This practical guide explains the complete pipetting sequence from choosing the correct volume range to ejecting the used tip. It is suitable for routine PCR preparation, molecular biology, cell culture support, teaching laboratories, and general liquid handling.
Quick Answer
Choose the smallest pipette whose working range includes the target volume. Set the volume without forcing the adjustment mechanism, attach a compatible tip, pre-wet when appropriate, press to the first stop, aspirate vertically and slowly, pause, then dispense smoothly through the second stop. Keep angle, depth, speed, and timing consistent between repetitions.
Before You Start: Choose the Correct Micropipette Range
Accuracy normally becomes more difficult near the lowest end of a pipette's range. Do not use a large-volume pipette for a very small transfer simply because the number can be displayed.
The LifeGloria fully autoclavable adjustable micropipette is available in nine ranges from 0.1 µL to 10 mL. Select the smallest model that comfortably covers the target volume and use a tip designed for that range.
- Confirm that the pipette is clean and undamaged
- Check that the required volume is inside the stated range
- Use a compatible, undamaged tip
- Allow the sample, tips, and pipette to reach stable working conditions when accuracy is critical
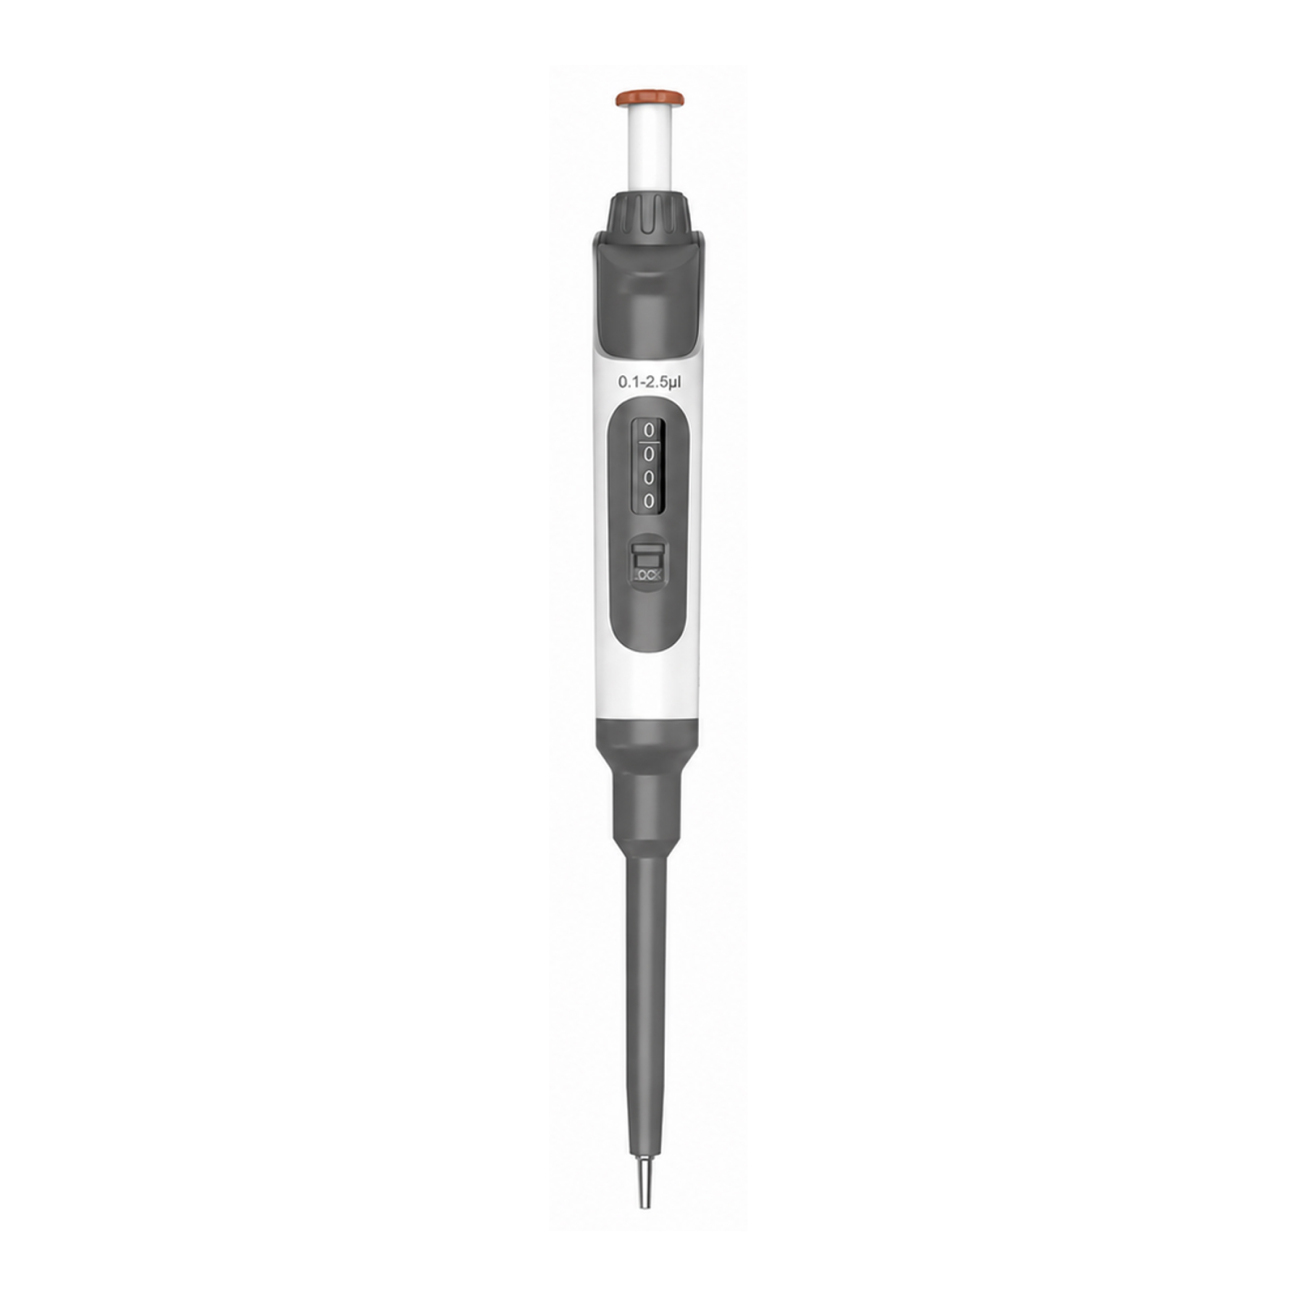
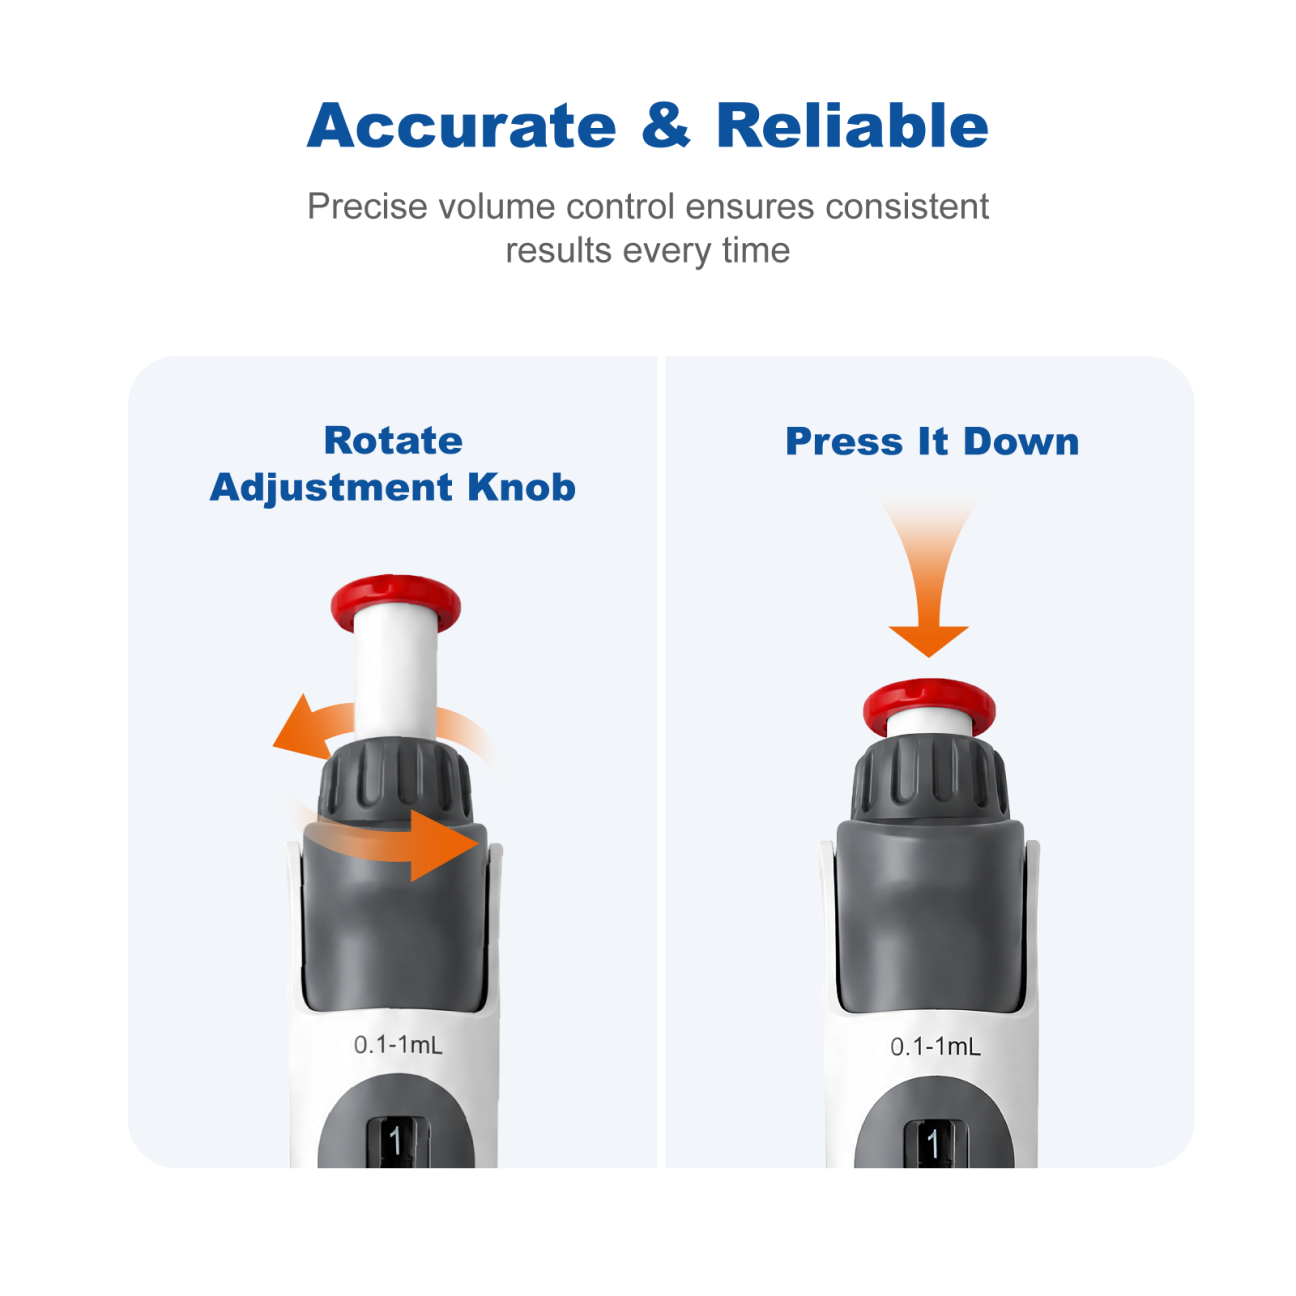
Step 1: Set and Lock the Volume
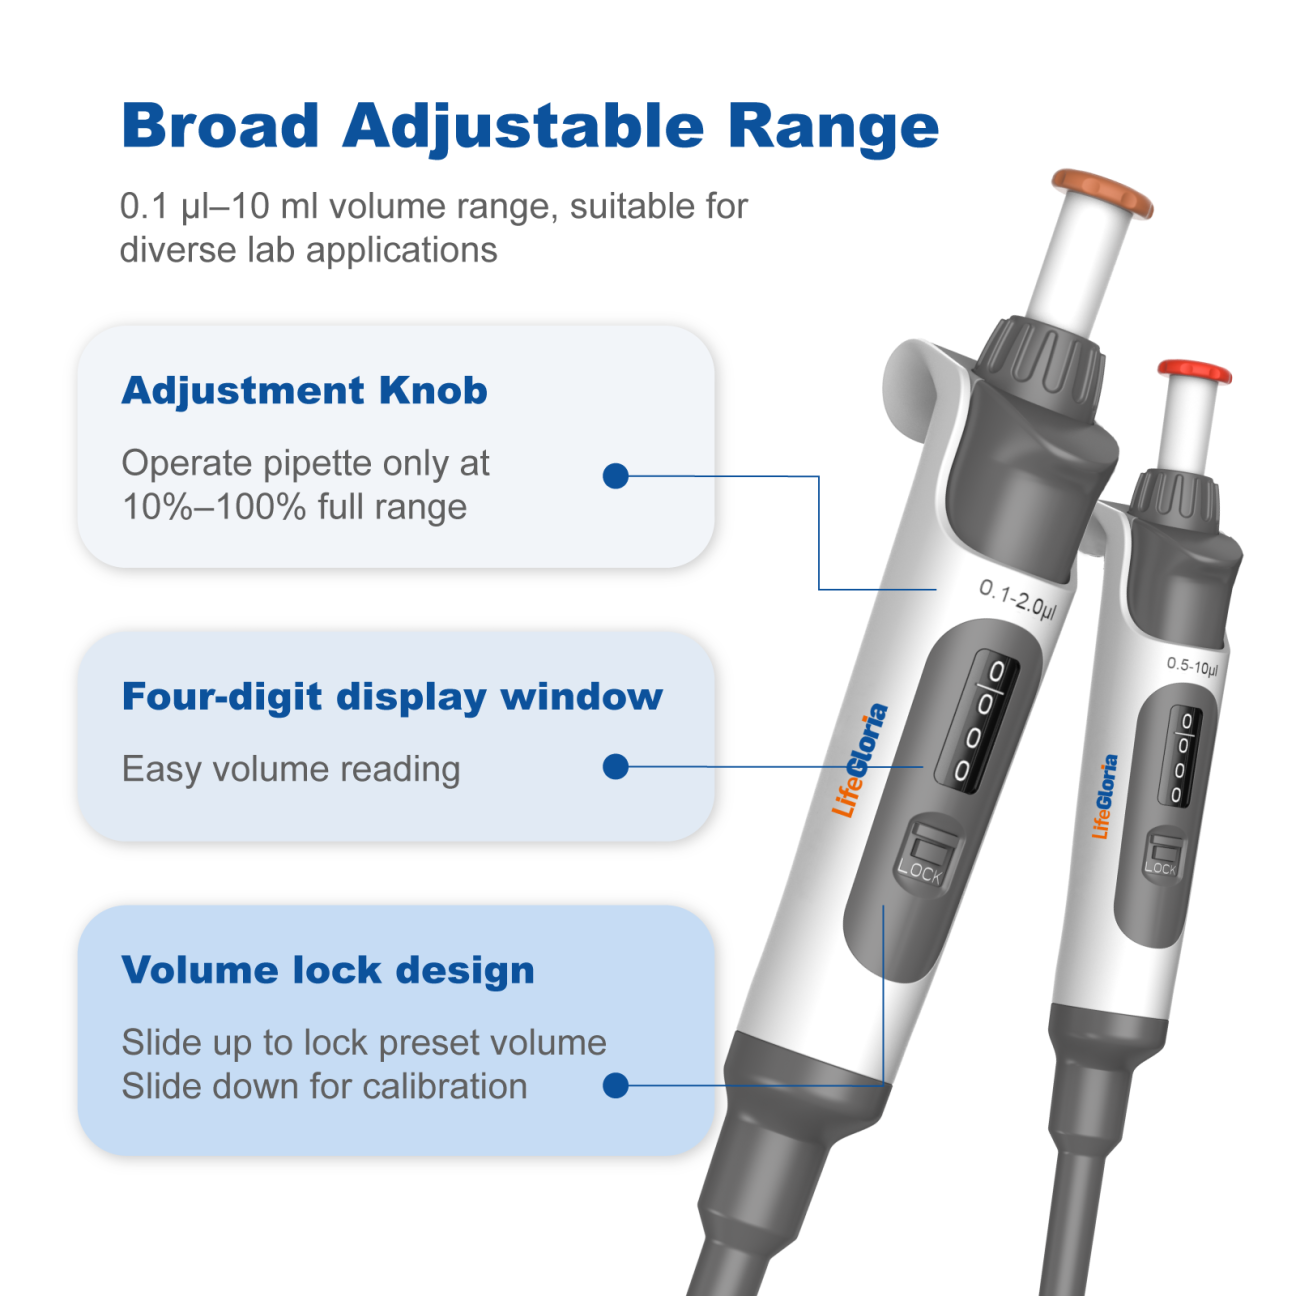
Unlock the volume control before adjustment. Turn the setting mechanism gently and stop within the model's specified range. Never force it beyond the minimum or maximum value.
When approaching a larger target from a smaller setting, the product manual recommends turning slightly beyond the target and then returning to the target. Read all display digits carefully and engage the volume lock before repetitive work.
Step 2: Attach the Pipette Tip Correctly
Press the pipette vertically into a compatible tip using only enough force to create an airtight seal. A loose tip can draw air; excessive force can deform the tip, make ejection difficult, and increase hand strain.
- Check that the tip sits straight
- Do not use cracked, bent, or visibly contaminated tips
- Change tips between samples when cross-contamination is possible
- Use filtered or sterile tips when the method requires them
Step 3: Pre-Wet the Tip When Appropriate
Pre-wetting means aspirating and dispensing the liquid two or three times before the measured transfer. It conditions the inner surface and can improve repeatability for small volumes, volatile liquids, and solutions that wet plastic differently from water.
Use the same liquid that will be measured. Do not pre-wet when the validated method specifically requires a dry tip or when carryover from the conditioning liquid would be unacceptable.
Step 4: Aspirate the Liquid
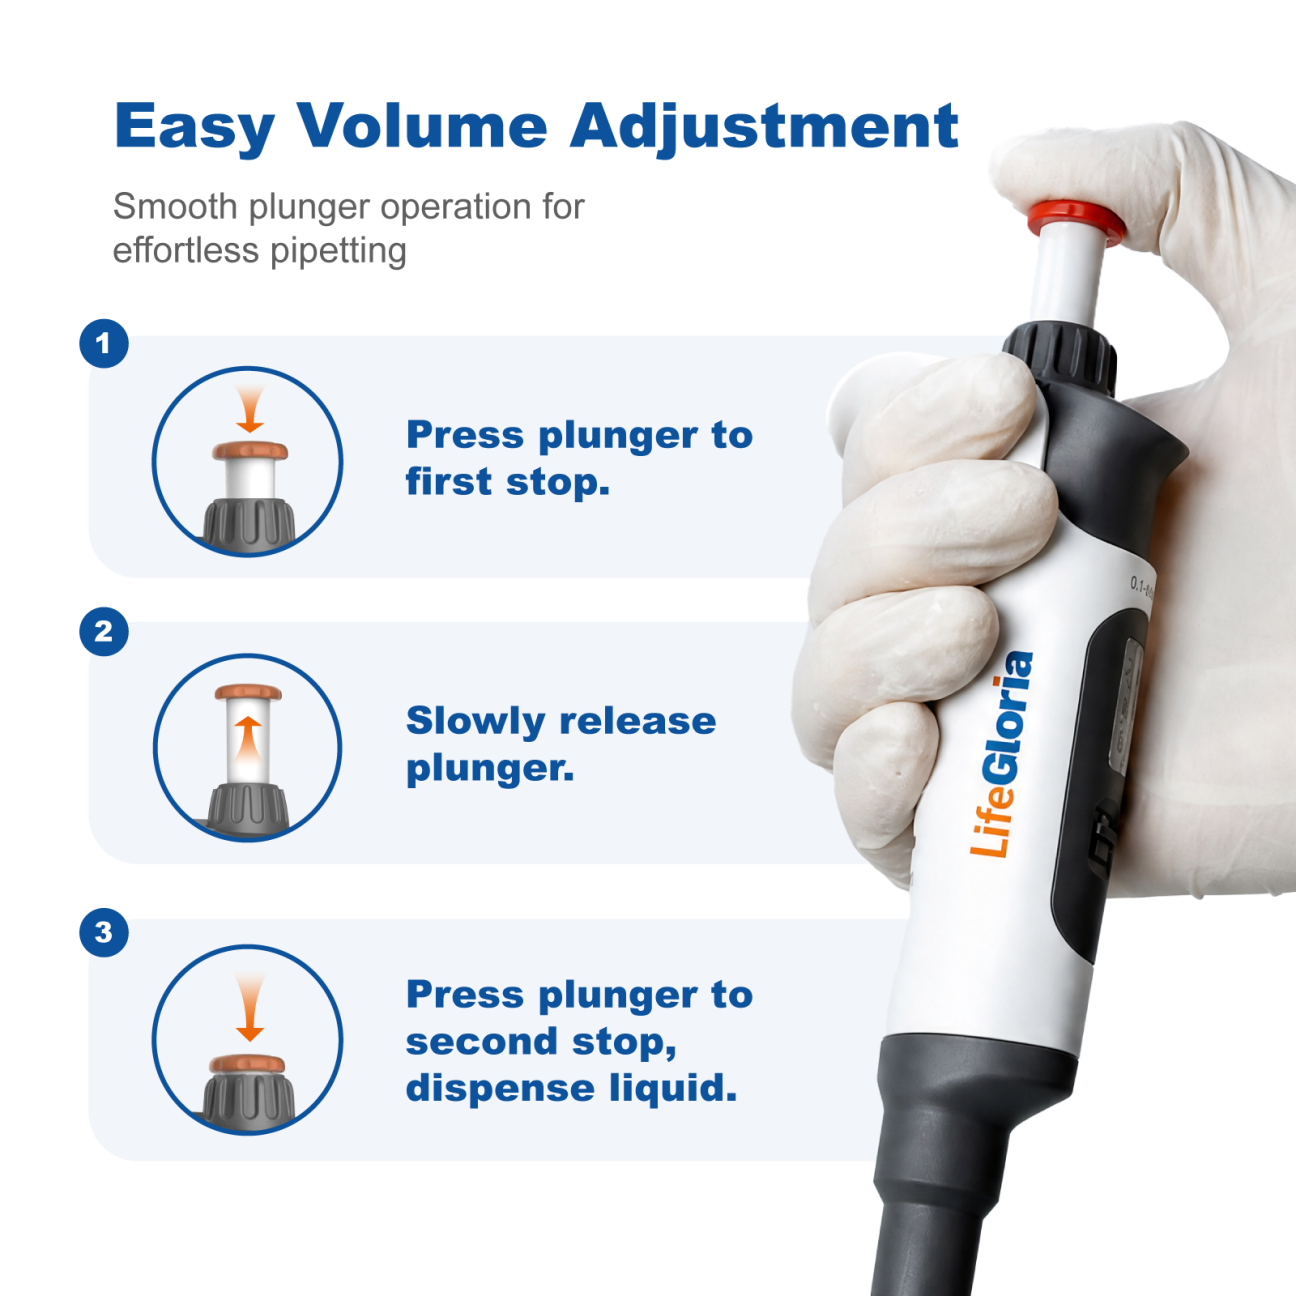
Press to the first stop
Press the plunger smoothly to the first resistance point before immersing the tip.
Immerse to the correct depth
Keep the pipette close to vertical. As a practical guide from the product manual, use about 1-2 mm for ≤1 µL, 2-3 mm for 1-100 µL, 2-4 mm for 100-1000 µL, and 3-6 mm for larger volumes.
Release slowly and pause
Release the plunger in a controlled motion. Wait about one second for volumes up to 1000 µL and longer for milliliter volumes, then withdraw the tip without touching unrelated surfaces.
Step 5: Dispense the Liquid
Touch the tip to the receiving-vessel wall at a slight angle. Press smoothly to the first stop to deliver the measured volume, then continue to the second stop to expel the residual liquid for standard forward pipetting.
Keep the plunger depressed while withdrawing the tip from the vessel wall. Release it only after the tip is clear. This prevents liquid from being drawn back into the tip.
Step 6: Eject the Tip and Store the Pipette
Eject the used tip into the correct waste container without touching it by hand. After work, return the pipette to a stand in an upright position. Do not leave liquid inside the tip or store the instrument lying down after liquid handling.
- Remove the tip before storage
- Wipe the exterior using a compatible cleaning method
- Record spills, drops, or unusual plunger movement
- Arrange an accuracy check if performance is uncertain
Common Technique Errors to Avoid
For a deeper checklist, read 8 Pipetting Mistakes That Cause Inaccurate Results.
- Holding the pipette at a steep angle during aspiration
- Releasing the plunger so fast that bubbles form
- Immersing the tip too deeply
- Changing speed or pause time between replicates
- Using one tip for incompatible samples
- Forcing the volume control outside its range
Product Fact Box: LifeGloria Adjustable Micropipette
| Specification | Product information |
|---|---|
| Volume coverage | Nine models covering 0.1 µL to 10 mL |
| Display | Four-digit volume display |
| Volume protection | One-key volume lock |
| Sterilization | Fully autoclavable without disassembly; follow the manual cycle |
| Manual autoclave cycle | 121°C, 1 bar, 20 minutes; cool and dry before use |
Frequently Asked Questions
What is the first stop on a micropipette?
The first stop is the initial resistance point used to aspirate and deliver the selected volume. The second stop is the blow-out position used during standard forward dispensing.
Should a micropipette be held vertically?
Keep it close to vertical during aspiration. Tilting changes the hydrostatic conditions and can reduce consistency.
How deep should the tip enter the liquid?
Use shallow immersion appropriate to the volume. The LifeGloria manual gives approximately 1-2 mm for ≤1 µL, 2-3 mm for 1-100 µL, and 2-4 mm for 100-1000 µL.
Can one pipette cover every laboratory volume?
No. Use several ranges so each target volume is handled comfortably within the instrument's specified working range.
Final Thoughts
Accurate pipetting comes from a repeatable sequence. Match the range and tip to the task, set the volume correctly, aspirate vertically and slowly, dispense through the correct stops, and keep timing consistent. When results change unexpectedly, check both technique and instrument performance.
Related LifeGloria Resources
Need help choosing laboratory equipment? Contact LifeGloria.
Important: Follow the instrument manual, laboratory SOP, tube and rotor ratings, and local safety requirements.
